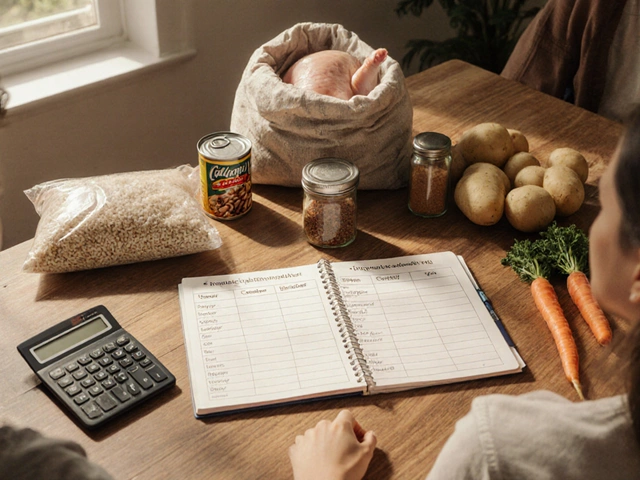
This question pops up every time you glance at a new slow cooker recipe—can you just double the time on low if you want to make it on high, or the other way around? Tons of guides say 4 hours on high is equal to 8 hours on low, like it’s as simple as flipping a switch. But that’s only half right. Slow cookers heat food differently depending on the setting, and it’s not just about the total number of hours.
When you cook on low, heat climbs up gently, allowing all those flavors to blend and meats to get fork-tender without drying out. Cranking up the heat to high just gets you to the simmer point quicker, but some cuts of meat or types of veggies might not appreciate the rush, leaving them tougher or mushier than you planned.
The only way to really nail a recipe swap is to know what you’re actually cooking. Chicken breasts don’t behave like chuck roast, and potatoes have their own timeline. So, before you blindly toggle from low to high (or vice versa), let’s break down how these settings actually work and what you risk by shortcutting the process.
- Why Slow Cookers Have High and Low Settings
- What Changes (and Doesn’t) Between High and Low
- Not All Foods React the Same Way
- Tips for Swapping High and Low Safely
- Common Mistakes and How to Avoid Them
Why Slow Cookers Have High and Low Settings
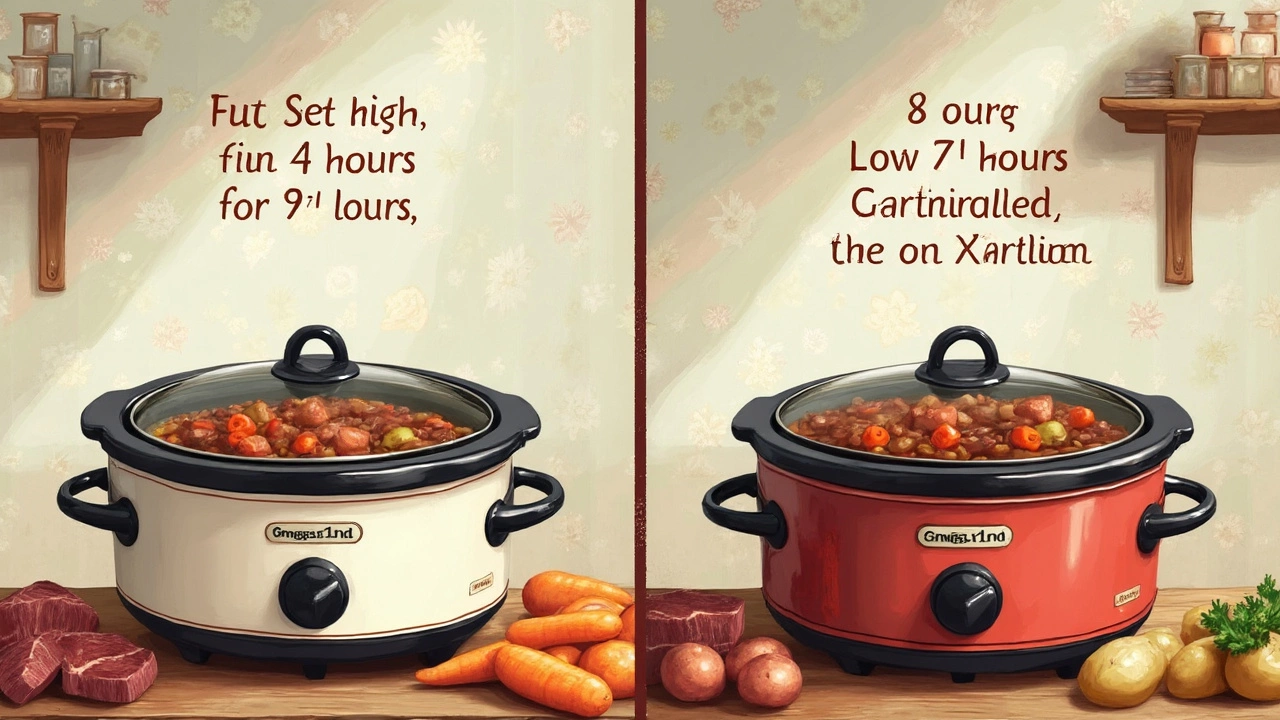
Slow cookers come with a high and low setting for one reason: control. These options give you the flexibility to match the cooking temperature and time to what you’re actually making. Most slow cookers heat up to about 209°F (just below boiling) on both settings, but the big difference is how fast they get there. Low settings take their sweet time, usually 7 to 8 hours, while high ramps things up in about 3 to 4 hours.
Some people think both settings crank the same temperature, but just hit it at a different pace. That’s pretty much spot-on. The USDA even points out that, 'Both the high and low settings will eventually reach a simmer point; the low setting just takes longer to get there.'
“In general, if you’re using a standard slow cooker, the ‘high’ setting will cook food about twice as fast as the ‘low’ setting, but the final temperature is basically the same.” — USDA Food Safety and Inspection Service
Here’s a quick comparison for popular slow cooker models, based on published specs:
| Setting | Approx. Time to Simmer | Typical Temp (°F) |
|---|---|---|
| Low | 7-8 hours | 200 |
| High | 3-4 hours | 209 |
So, why not just blast everything on high? Some things need time—think of that tough stew meat that breaks down and gets juicy after hours on low. Other foods, like chicken breasts, dry out or go rubbery if you rush them. That’s why both options exist. Use ‘low’ for all-day cooking with tender results, and ‘high’ for a quicker dinner fix without losing the magic of a slow cooker meal.
What Changes (and Doesn’t) Between High and Low
You might think both settings just take you to the same finishing line at different speeds, but here’s how they actually work. On most slow cookers, the high and low heat settings don’t mean different maximum temperatures. Both hit about 200-210°F (93-99°C) at full tilt—the big difference is how quickly they get there. The low setting just takes way longer to warm up, giving ingredients more time to soak and break down slowly.
This slow climb is key, especially for tough cuts of meat or fibrous veggies. The gradual heat on low breaks down collagen and connective tissue over hours, making stew beef or pork shoulder fall-apart good. On high, that process is rushed; sometimes you get chewy meat or potatoes that still hold their shape but don’t soak in flavor as much.
What doesn’t change? The final temperature. Both low and high will eventually hit a safe level to kill bacteria and cook food thoroughly, as long as you let them run long enough. So safety isn’t the issue—it’s texture and flavor you risk by playing with time.
Here’s a quick breakdown:
- Slow cooker high setting: Heats up fast, good for speedy soups or when you need a meal on the table the same day. But it can make proteins tough and veggies mushy if you’re not careful.
- Low setting: Slow and steady, best for breaking down meat, letting flavors blend, and avoiding overcooking. It’s the classic set-it-and-forget-it option.
- Some newer models even have a “keep warm” mode, but don’t use this for actual cooking—it won’t get hot enough to be safe.
One thing a lot of people don’t realize: if you start a recipe on high and switch to low halfway through, you don’t magically cut the total cooking time. You still need to factor in that the slow ramp-up on low is what softens everything, not just the hours on the clock.
Bottom line? Both settings work, but they change how your dish turns out. Knowing which to use just means tastier results every time you break out the crockpot.
Not All Foods React the Same Way
Here’s the thing: not everything tossed in your slow cooker is going to act the same when you flip between high and low. Some ingredients, especially different cuts of meat and types of veggies, respond differently to how long—and how hot—you cook them.
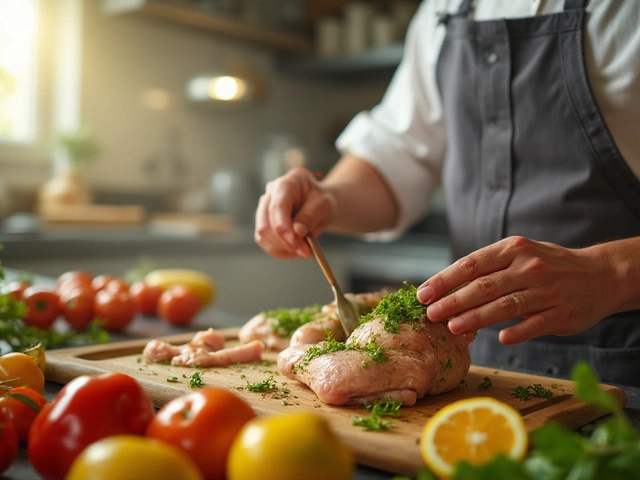
Let’s talk meat. Tougher cuts like beef chuck, pork shoulder, or brisket actually need that longer, slower cook to break down the collagen and get fall-apart tender. If you hit them with 4 hours on high, they might still be chewy because the heat’s just too abrupt. Boneless, skinless chicken breasts, though, are a totally different story. On low, they can easily dry out if left for 8 hours; they’re usually perfect around the 4-5 hour mark—so bumping them up to high can just blast all the moisture out even faster.
Veggies have their quirks, too. Root veggies like potatoes or carrots can handle longer, slower cooks, but delicate ones like bell peppers or zucchini can end up mush if overcooked on either setting. Dairy (cream, milk, and cheese) almost always needs to go in at the end, or it’ll separate, especially on high.
According to the experts at America’s Test Kitchen, there’s a real difference:
"Tough, marbled cuts of meat need the long, slow simmer of a lower setting, while lean meats and tender vegetables are done at a fraction of the time and can easily overcook on high."
- Use low for stews with cheaper, tougher meat cuts and dense veggies.
- Stick to high for quick-cooking or ground meats (like chili), but keep an eye on the clock.
- Add dairy or delicate veggies in the last hour, regardless of setting.
Bottom line: always adjust based on what you’ve got in the pot. Swapping times works sometimes, but there’s no one-size-fits-all rule for how slow cooker recipes turn out.
Tips for Swapping High and Low Safely
If you ever need to switch a slow cooker recipe from low to high or vice versa, you’ll want to do it without ruining your meal. Here’s what actually works, based on what’s been tested in real kitchens—not just guesses from the back of a recipe card.
- General Rule: Most slow cooker recipes can be switched using a 1:2 ratio. Four hours on high is roughly equal to eight hours on low. But that only works for stews, chili, pulled pork, or similar “wet” dishes.
- If you’re cooking chicken breasts or leaner cuts, they can get dry or stringy on high heat. Play it safe—use the low setting, or at least check them an hour before the time’s up.
- Dairy, like cream or milk, can curdle if cooked too long or too hot. Only add those close to the end, and keep the temp low if possible.
- Veggies like potatoes and carrots handle both high and low but chop them evenly so they finish at the same time as your meat. Throwing in cold, whole potatoes will throw off the timing no matter what setting you use.
| Recipe on Low | Equivalent on High |
|---|---|
| 8 hours | 4 hours |
| 10 hours | 5 hours |
| 6 hours | 3 hours |
One more pro tip: Don’t switch settings halfway through cooking unless a recipe specifically says so. If your power goes out or you need to speed things along, just know that flipping to high will finish it off faster—but the texture might not come out quite the same.
Use a meat thermometer, especially with big cuts like roast or whole chicken. Food safety matters as much as flavor. For most slow cooker meats, aim for at least 165°F (74°C) in the thickest part.
And since slow cooker models heat up differently, keep an eye on your meal the first time you try a recipe swap. If it looks overcooked or smells “done” an hour early, trust your senses more than the clock.
Common Mistakes and How to Avoid Them
Even the best slow cooker fans mess up sometimes. The difference between a juicy stew and a dry disaster often comes down to a few key mistakes. Here’s where most people trip up, and what to do instead.
- Slow cooker too full or too empty: For best results, fill the insert halfway to two-thirds. Overcrowding or too little food messes with heat distribution. Your meal ends up uneven—burnt at the edges, raw in the middle.
- Skipping the browning step: Searing meat or softening onions before adding to the pot makes a difference. If you skip this, you’ll lose deep flavors and end up with bland results, especially in beef or pork recipes.
- Lifting the lid: Tempting, but every peek can drop the temperature by 10–15°F. This sets you back at least 20–30 minutes of cook time each time you peek. Trust the process and resist lifting unless you absolutely have to stir or add ingredients.
- Using the wrong setting: Just because the instructions say to cook 8 hours on low doesn’t mean you’ll get the same outcome if you do 4 hours on high. Some ingredients, like beans and tough cuts of beef, really need the low-and-slow approach for safety and texture.
- Adding dairy or fresh herbs too soon: Milk, cheese, and fresh basil or parsley should only go in at the end. Put them in too early and you’ll likely end up with curdled cheese or wilted, flavorless herbs. Throw these ingredients in during the last 20–30 minutes.
Here’s a quick table showing what happens when these mistakes sneak into the kitchen:
| Mistake | Common Result | How to Fix |
|---|---|---|
| Too full/too empty | Uneven cooking; safety issues | Keep food level between 50–66% full |
| Lifting the lid | Food undercooked; longer cooking time | Avoid opening; only lift to add final ingredients |
| Dairy added early | Curdling or separating | Add at end, last 20–30 min |
| No browning | Bland flavor, tough meat | Sear meat first if possible |
| Wrong setting swap | Dry or tough food | Adjust recipes based on ingredient type |
One last tip: don’t rely only on the timer. Get yourself a cheap food thermometer and check that meats hit the proper safe internal temp—165°F for poultry, 145°F for pork and beef. Safety comes first, flavor right behind it.


Write a comment