Ever found yourself staring at your chicken, scratching your head, and wondering if it’s supposed to be covered or not when it goes into the oven? You’re definitely not the first to pause at this kitchen crossroad. It’s a decision that can make a real difference, impacting not just the texture but also the taste of your dish.
Covering your chicken while baking can do wonders for retaining moisture. It traps steam and ensures the bird remains juicy. However, it's a trade-off with the golden, crispy skin many of us dream of. If you're after that crispy finish, leaving it uncovered might be your best bet. But hey, there's a bit more to it than just a preference for juicy meat or crunchy skin.
- The Basics of Covered vs Uncovered
- The Science Behind Moisture and Crispiness
- Impact on Cooking Time
- When to Cover and When to Go Bare
- Tips for Perfectly Baked Chicken
The Basics of Covered vs Uncovered
So, you’re in the kitchen, ready to bake your trusty bird, and you’ve got that age-old question: should you bake the chicken covered or uncovered? Both methods have their place in the kitchen world, and here’s a breakdown to get things clucking.
Covered Baking: When Moisture is King
Covering your chicken with foil or using a lid keeps that precious steam locked inside. This is perfect if you're aiming for tenderness. Think of it as a little sauna for your poultry - all the juices stay put. This method can especially be beneficial when dealing with leaner cuts that dry out quickly.
- Moisture Retention: Ensures a juicy bite without much fuss.
- No Crispy Skin: Not ideal if you're craving that crispy, golden finish.
- Consistent Cooking: Helps in even cooking, especially for whole chickens.
Uncovered Baking: For the Crispy Skin Lovers
Now, if it's that golden-brown skin you're after, baking uncovered is the road to travel. The dry heat of the oven will help achieve that exquisite crunch on the surface while allowing moisture to slowly escape. Perfect for those Sundays when a roasty, toasty finish is a must!
- Crispy Finish: Unlocks that mouth-watering, golden texture.
- Flavor Intensification: Reduces moisture, concentrating flavors.
- Observation Needed: Requires a closer eye to prevent overcooking.
Which Method Wins?
Neither wins outright; it depends on what you’re going for! It’s worth mentioning that sometimes a combination of both worlds works wonders - starting covered to keep things juicy and uncovering at the end for some crispy glory.
| Method | Best For | Drawback |
|---|---|---|
| Covered | Moisture retention | Soft skin |
| Uncovered | Crispy finish | Potentially dry interior |
In this culinary game, your goal will drive your chosen method. Whether you’re hosting a family dinner or just snacking solo, you're now equipped to make the right call.
The Science Behind Moisture and Crispiness
The choice of baking chicken covered or uncovered boils down to a simple science of moisture retention versus crispiness. Understanding how heat and moisture interact with your bird will help you decide what's best for your meal.
Moisture Retention
Covering your chicken with aluminum foil or a lid creates a steamy environment inside the oven. This method traps the moisture released by the meat, keeping your chicken juicier. The steam generated helps to cook the chicken evenly and prevents it from drying out. It’s perfect for dishes where a tender, succulently moist result is the goal, like in a chicken recipe with sauces.
The Quest for Crispiness
Leaving the chicken uncovered allows the skin to dry out slightly. In the heat of the oven, this dry skin turns into crispy, golden perfection, developing a deliciously savory crust. If you're craving that crunch, uncovering your chicken is the way to go. The key is consistent, dry heat, which is best achieved by maintaining a moderate oven temperature.
What about flavors? The Maillard reaction — the magical process that browns your chicken — flourishes with less moisture and more heat exposure. It's what's responsible for the delectable aroma and delightful taste of a well-baked bird when uncovered.
A Balancing Act
Finding the sweet spot between moist and crispy can sometimes involve a little bit of both techniques. Start covered to trap in moisture and then uncover towards the end of cooking to achieve that perfect crunchy finish.
Ultimately, understanding your end goal will shape your choice of covering or uncovering. It's all about the science of balancing moisture and texture to suit your dinner table dreams.
Impact on Cooking Time
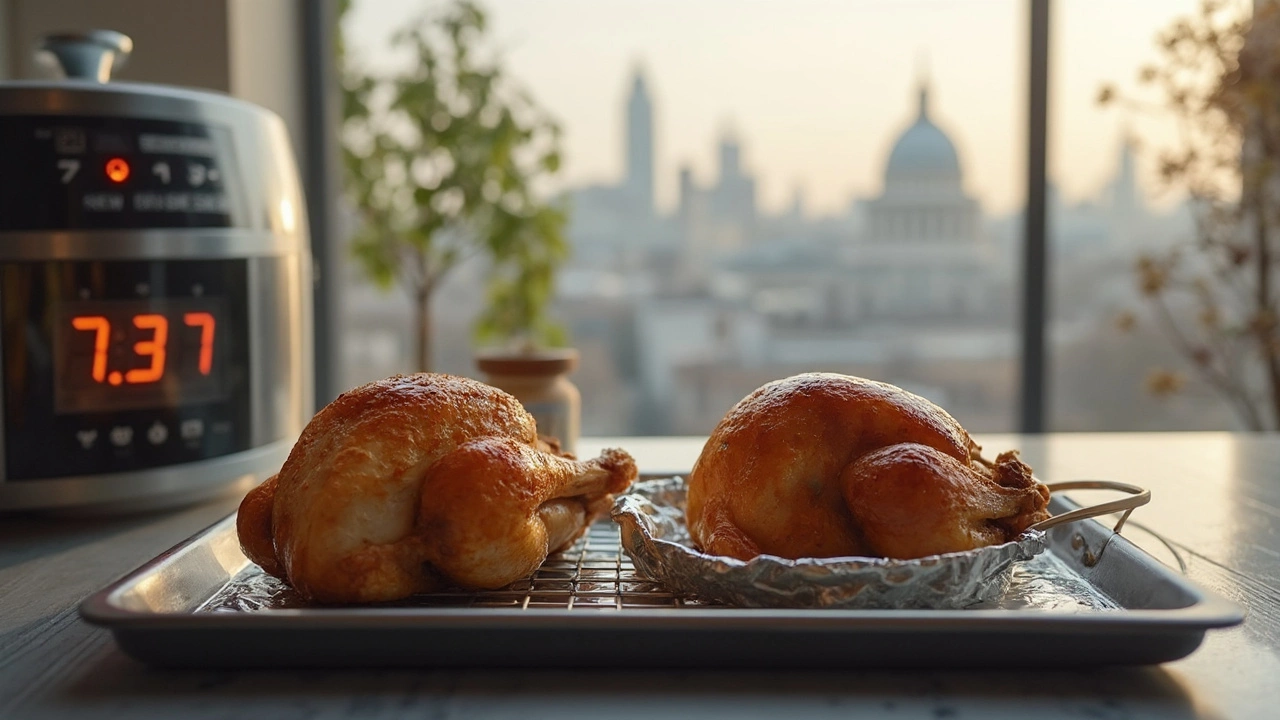
Baking chicken covered or uncovered not only influences texture but also the total cooking time. When you cover your chicken, it essentially creates a mini-oven, causing the trapped steam to cook the meat faster. This means you might be shaving off a good 10 to 15 minutes from your usual cooking time.
On the other hand, baking uncovered lets the dry oven heat do the work, usually taking a bit longer but rewarding you with beautifully crispy skin. If you’re not keeping an eye on the clock, you could end up with overcooked meat. A lot of folks who love cooking swear by the uncovered method but remember, it might take 30-40 minutes longer than a covered dish.
“It's better to consistently check both time and temperature to ensure your chicken is not only safe to eat but perfectly cooked,” suggests Julia Waters, a famous culinary instructor from the Culinary Institute of America.
Keep your oven at a steady 375°F whether you're going covered or not. If you decide to cover, peel back that foil in the last 10 minutes. This allows some moisture to escape and gives the skin a fighting chance to crisp up.
Here's a quick time guide:
| Method | Cooking Time |
|---|---|
| Covered | 35-45 minutes |
| Uncovered | 45-60 minutes |
Remember, these times are approximate and can vary with piece size and oven type. Always keep a meat thermometer handy to check the internal temperature reaches a safe 165°F.
When to Cover and When to Go Bare
Choosing whether to cover your chicken or let it cook bare in the oven depends largely on the outcome you’re aiming for. Both methods have their place, and knowing when to use each can level up your cooking game.
When to Cover
If moisture retention is a top priority, then covering your chicken is the way to go. This method is particularly useful for dishes like chicken casseroles or thighs in sauce. By using a lid, foil, or baking dish, you trap steam, which helps keep the chicken from drying out.
- If you’re planning a dish that involves a lot of liquid or sauce, covering it ensures that the chicken absorbs all those tasty juices.
- It’s also smart to cover the chicken when you’re adding tougher vegetables that need slow, moist heat to cook properly.
- During the first phase of cooking for whole chickens, covering can help it cook through without burning the skin.
When to Go Bare
Choosing to bake chicken uncovered can be perfect if you’re after that golden, crispy skin. This method allows the heat from the oven to reach the chicken directly, which helps render the fat and crisp up the exterior.
- Uncovered is great for a roast when the chicken is the star of the plate, and you want to highlight that crispy skin.
- Breast cuts can benefit from this method to prevent steaming, which doesn’t suit leaner meats.
- If your recipe involves basting or adding glaze, let it cook uncovered towards the end to caramelize it properly.
As a rule of thumb, you might begin baking covered to retain moisture, especially if your chicken is in larger pieces or whole, and then uncover it for the last 10-15 minutes. This approach provides juiciness and that desirable crispy skin.
If you’re undecided, why not try both in one meal? Cover the main dish and leave a secondary piece uncovered. You might discover a new favorite way to bake chicken.

Tips for Perfectly Baked Chicken
Achieving that mouth-watering baked chicken everyone raves about includes a few smart hacks. Whether you're leaning toward keeping it covered for juiciness or going uncovered for that crispy finish, you’ll want these pointers in your back pocket.
Start with Quality Chicken
Before getting into the debate of baking chicken covered or uncovered, start with good quality chicken. Free-range or organic options usually have better flavor and texture.
Preheat Your Oven
Make sure your oven is hot enough when you put the chicken in. A consistent temperature helps in even cooking.
Timing is Everything
Get your timing right—overcooking dries it out. Here's a rough guide:
- For breast pieces, aim for 25–30 minutes.
- Thighs need around 35–40 minutes.
- A whole bird might take anywhere between 70–90 minutes, depending on the size and whether it's covered or not.
Season Generously
Don't skimp on seasonings. Salt, pepper, and herbs can make all the difference. Rub them generously over and under the skin for maximum flavor.
Use a Meat Thermometer
Cooking tips for chicken always include using a thermometer. It's an easy way to avoid over or undercooking. Aim for an internal temperature of 165°F (75°C).
"A good meat thermometer can instantly make you a better cook," says Chef Simone Lewis, a leader in home cooking excellence.
Let it Rest
Once out of the oven, don't dig in immediately. Let the chicken rest for about 10 minutes; this keeps the juices locked in when you finally cut into it.
Optional: Add Veggies in the Pan
If you fancy a one-pan meal, toss some veggies around your chicken. They will soak up the juices and add depth to your dish.
Compare Covered vs. Uncovered
| Aspect | Covered | Uncovered |
|---|---|---|
| Juiciness | Higher | Moderate |
| Crispiness | Moderate | Higher |
| Cooking Time | Slightly longer | Faster |
These cooking tips should set you up for success the next time you’re aiming for that perfectly baked chicken. Whether you bake chicken covered or uncoverd, these steps are your roadmap to a tasty meal.




Write a comment