Perfect Roast Chicken Checklist
Avoid the common pitfalls of roasting. Check off each step as you complete it to see if your bird is on track for perfection.
Your Readiness Score
The Danger of the Cold Bird
One of the biggest mistakes you can make is taking a chicken straight from the fridge and sliding it into a hot oven. When the meat is ice-cold, the outside overcooks before the center even reaches a safe temperature. This is how you end up with a bird that is burnt on the outside and raw near the bone.
Instead, let your bird sit on the counter for about 45 to 60 minutes. This allows the internal temperature to rise slightly, ensuring the heat penetrates the thickest parts of the breast and thighs evenly. If you're in a rush, you can skip the soak, but you'll almost certainly sacrifice that perfect edge-to-edge doneness.
Ignoring the Power of Dry Skin
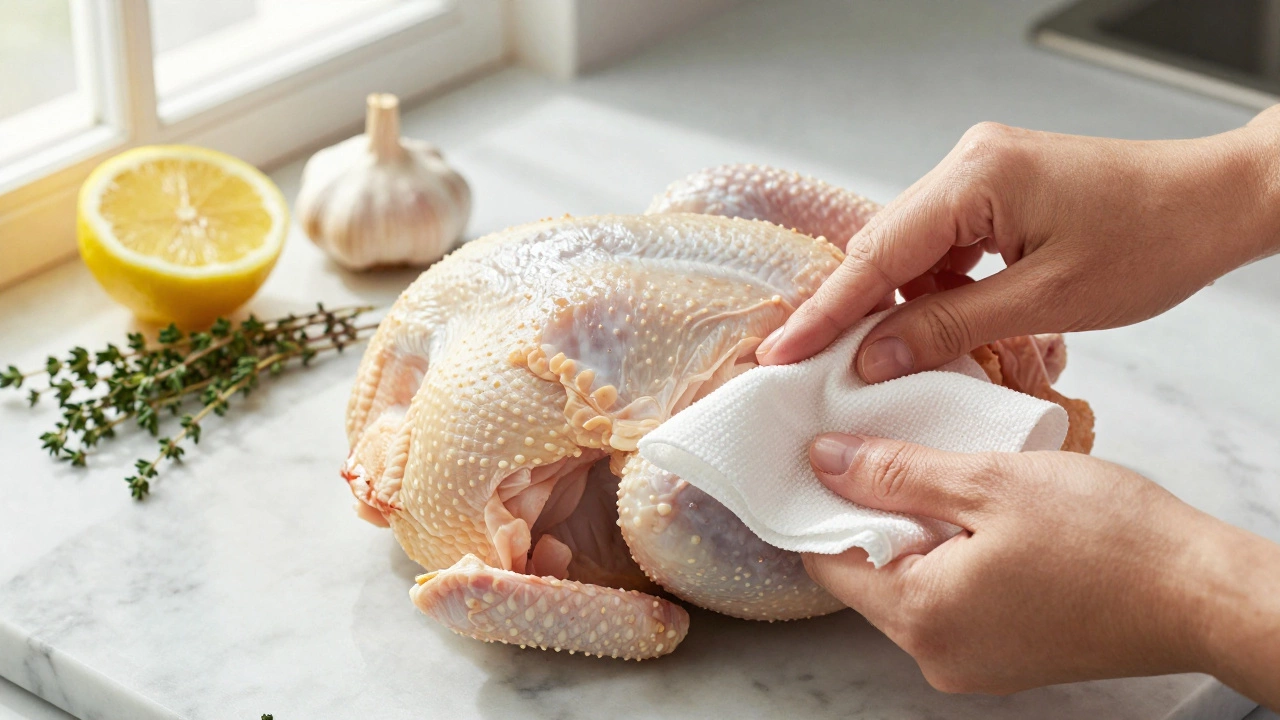
If you want skin that cracks like glass, you have to stop leaving moisture on the surface. Many people season their chicken while the skin is still damp from the packaging. Water is the enemy of browning. When moisture hits the heat, it turns to steam, which effectively boils the skin rather than frying it in the chicken's own fat.
Grab some paper towels and pat that bird bone-dry. I mean really dry. If you're feeling ambitious, leave the chicken uncovered in the fridge overnight on a rack. This process, similar to air-drying steak, removes surface moisture and lets the skin tighten, resulting in a deep gold color and an incredible crunch.
Maillard Reaction is
a chemical reaction between amino acids and reducing sugars that gives browned food its distinctive flavor. Without dry skin, this reaction can't happen effectively.
The Over-Stuffing Trap
Stuffing the cavity with a massive amount of bread-based filling is a classic mistake. While it smells great, a densely packed cavity blocks hot air from circulating around the interior of the bird. This creates a heat shield, leaving the innermost parts of the chicken undercooked while the exterior is drying out.
If you want flavor, use aromatics. A halved lemon, a head of garlic cut in half, and a bunch of fresh thyme are plenty. These add steam and fragrance from the inside without creating a cold mass that prevents the meat from reaching the safe internal temperature of 165°F (74°C), as recommended by the
USDA
United States Department of Agriculture
.
Relying on the Timer Instead of a Thermometer
Following a recipe that says "cook for 1 hour and 20 minutes" is a gamble. Every oven is different, and every chicken varies in weight. A 4lb bird and a 5lb bird are not the same. If you cook by time, you're playing a guessing game with your dinner.
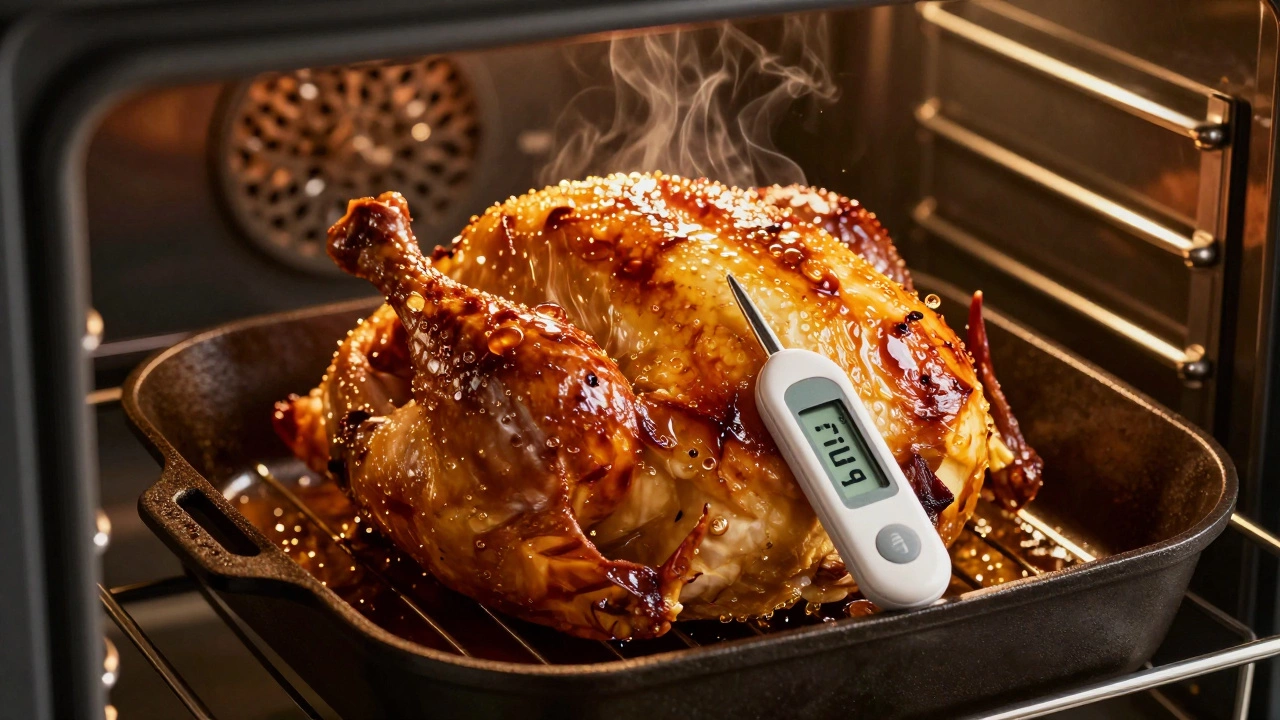
The only way to guarantee a juicy bird is to use an
Instant-Read Thermometer
a digital tool used to check the internal temperature of meat in seconds
. Probe the thickest part of the thigh and the breast. Once the breast hits 160°F, pull it out. The temperature will continue to rise to 165°F while it rests. This prevents the "chalky" texture that comes from overcooking the lean breast meat.
The Tragedy of the Immediate Carve
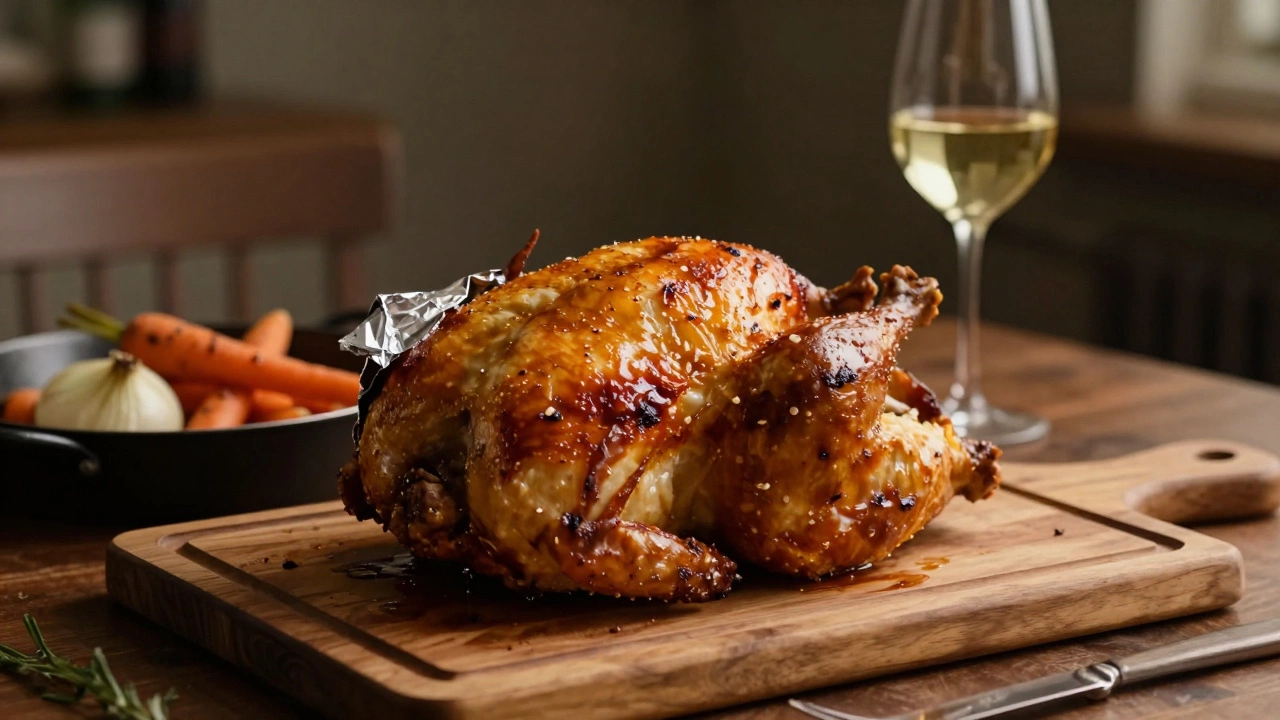
The most heartbreaking moment is when someone pulls a chicken out of the oven and immediately starts slicing into it. When you do this, all those delicious juices-which have been pushed to the center of the meat during cooking-rush out onto the cutting board. You're left with meat that feels dry, even if it was cooked perfectly.
You must let the chicken rest for at least 15 to 20 minutes. This allows the muscle fibers to relax and reabsorb the juices. If you're worried about the bird getting cold, just tent it loosely with foil. The trade-off in texture is worth the wait.
Using the Wrong Pan
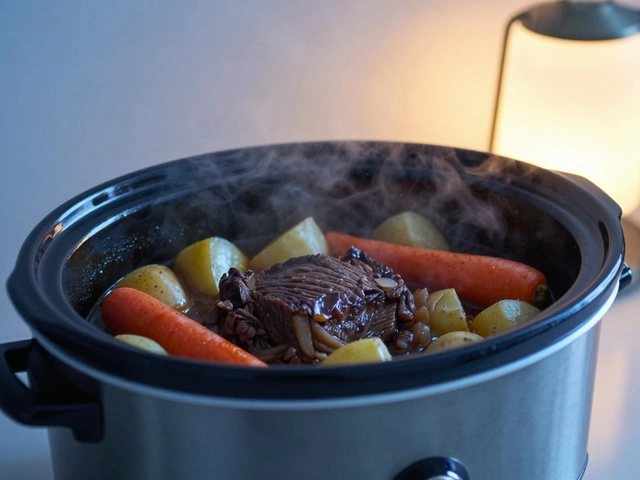
Putting a chicken in a deep, high-sided roasting pan often leads to "soggy bottom syndrome." The chicken sits in its own rendered fat and juices, effectively poaching the bottom half of the bird instead of roasting it.
Use a
Roasting Rack
a metal grid that lifts meat above the bottom of the pan
or a cast-iron skillet. Lifting the bird allows the hot air to circulate under the thighs, ensuring the skin is crisp all the way around. If you don't have a rack, a thick bed of carrots and onions works as a natural trivet and doubles as a side dish.
| Action | Don't Do This | Do This Instead | Why? |
|---|---|---|---|
| Temperature | Cook straight from the fridge | Temper at room temp for 60 min | Ensures even cooking |
| Skin Prep | Leave skin damp | Pat dry with paper towels | Promotes Maillard reaction/crispiness |
| Cavity | Pack tightly with bread stuffing | Use lemon, garlic, and herbs | Improves airflow and safety |
| Timing | Follow the clock/timer | Use a digital meat thermometer | Prevents overcooking and dryness |
| Finishing | Carve immediately | Rest for 20 minutes | Keeps juices inside the meat |
Connecting the Dots: Flavor and Technique
Understanding these mistakes helps you see the bigger picture of heat management. Whether you're using a
Convection Oven
an oven with a built-in fan that circulates hot air
or a traditional setup, the goal is always the same: balance. You want high heat for the skin but a controlled temperature for the meat.
If you find your breast meat is drying out before the legs are done, try a technique called "trussing." By tying the wings and legs close to the body, you prevent the extremities from burning while the core finishes. Alternatively, start the breast side down for the first 30 minutes and flip it halfway through. This uses the legs as a heat sink and protects the lean meat.
Why is my chicken skin rubbery instead of crispy?
Rubbery skin usually happens because of two things: moisture or low heat. If you didn't dry the skin thoroughly with paper towels, the water creates steam. Also, if your oven temperature is too low, the fat doesn't render out quickly enough to fry the skin. Try roasting at 425°F (218°C) for a better crunch.
Is it safe to leave raw chicken on the counter for an hour?
Yes, for a short period. Most food safety guidelines suggest that meat can stay in the "danger zone" (40°F to 140°F) for up to two hours before bacteria becomes a serious risk. An hour is generally considered safe for tempering a bird before roasting.
Can I use oil or butter on the skin?
Absolutely. Both work, but they offer different results. Butter provides a richer, more golden color and a nutty flavor. Oil (like avocado or grapeseed oil) can often handle higher heat without burning, which helps the skin get extra crispy.
How do I know if the chicken is actually done without a thermometer?
The most reliable old-school method is checking the juices. Poke the thigh with a knife; if the juices run clear (not pink or cloudy), it's likely done. However, this is less accurate than a thermometer and can sometimes mislead you.
What's the best way to avoid burning the tips of the wings?
Truss your bird. Use kitchen twine to tie the wing tips snugly against the breast. This keeps them out of the direct line of fire. If you see them browning too quickly during the roast, you can also cover just the tips with a small piece of foil.


Write a comment