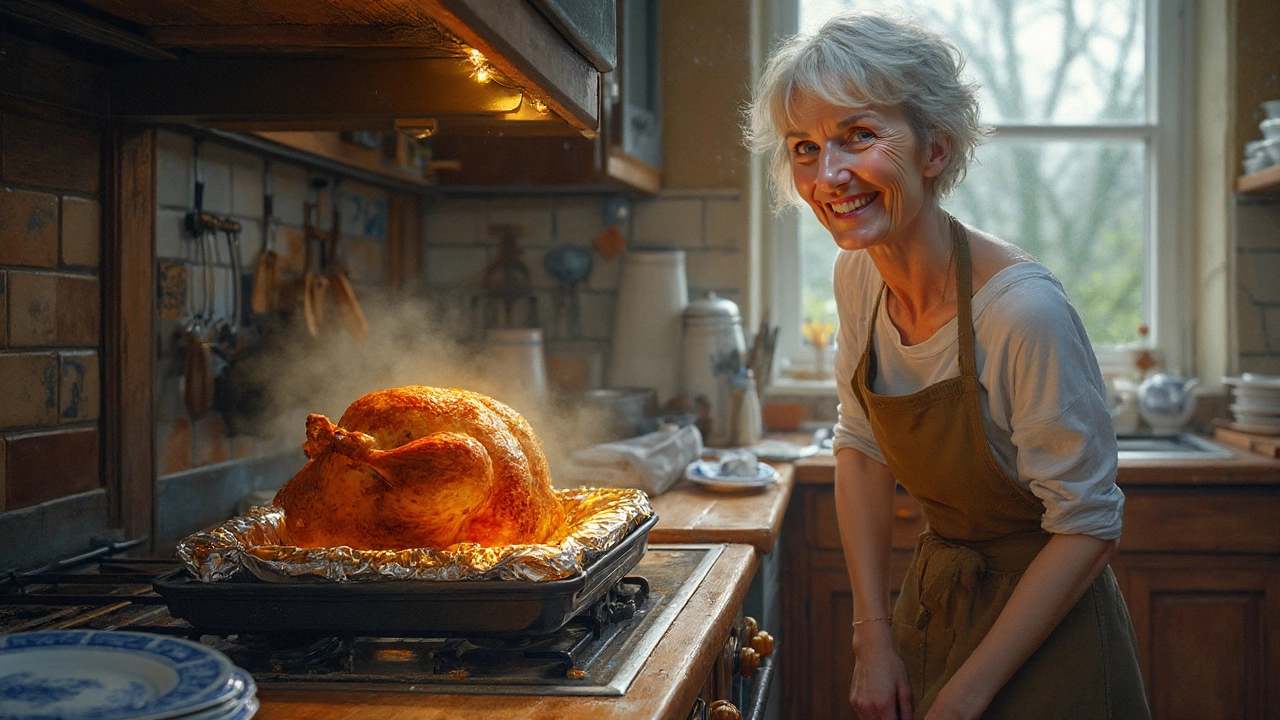
Ever pulled a tray of baked chicken out of the oven, hoping for that perfect golden brown skin, but instead you find a pale, limp mess that tastes more like lost potential than dinner? Trust me, we've all been there. The question pops up every time you hear the oven beep: should you leave your chicken uncovered to crisp up or throw some foil over it to save the juices? Sounds simple, but once you dig into it, you realise the answer isn’t one-size-fits-all. There’s real science—and even a little bit of kitchen drama—behind whether you cover chicken when baking or let it go commando (as my mate Callum would say after three pints and a mediocre Sunday roast). Time to ditch the guesswork and get straight to what’ll actually give you the chicken you dream about.
The Role of Covering: What Actually Happens in Your Oven
Let’s get honest: the oven is a wild place for any piece of meat, but chicken takes it especially hard. Covering chicken when baking does more than just keep things tidy. It creates a mini sauna right around your bird. As the chicken releases steam, the foil or lid traps the moisture close, which helps prevent the meat from drying out. This is especially good news if you’ve got boneless, skinless chicken breasts that just love to go chewy the moment you blink. Boneless breasts lose about 25% more moisture when left uncovered during baking, which is one reason so many home cooks end up with sawdust instead of supper.
But that trapped steam comes with a tradeoff. The outer surface of the chicken won’t crisp up or brown—so if you’re after golden skin and plenty of colour, covering the chicken for the whole bake is not your best bet. Instead, what you get is pale and soft, more like the results from a steamer than a roasting pan. For a lot of people, it’s all about priorities: locked-in juiciness with a soft exterior, or crunch risked with the price of potentially dry meat. And honestly, this battle is why half the world covers chicken and the other half doesn’t.
The science part’s no joke. Water starts to evaporate from the chicken when it reaches about 60°C (140°F). Foil slows this water loss, keeping things moist. In a simple home test with two identical chicken breasts, one covered with foil and the other left exposed, the covered piece retained around 15% more weight—a solid sign of extra moisture inside.
Beyond just moisture, covering traps any seasonings or marinades close to the meat. If you’re baking something in a sticky, sweet sauce, covering for a while makes sure the flavours don’t end up baked dry and stuck on your tray. On the flip side, that means less evaporation, so your sauce might stay thinner and less caramelised.
Covering chicken does change cooking time as well. Since steam transfers heat better than dry air, a covered dish tends to finish a bit faster—up to 10 minutes on a weeknight tray bake. But that same heat can mute textures, so you’ll never get crispy edges unless you take the cover off late in the game. If you’re desperate for quick results, covering is handy, especially if you’re baking large pieces or bone-in thighs where doneness in the middle can be a real worry.
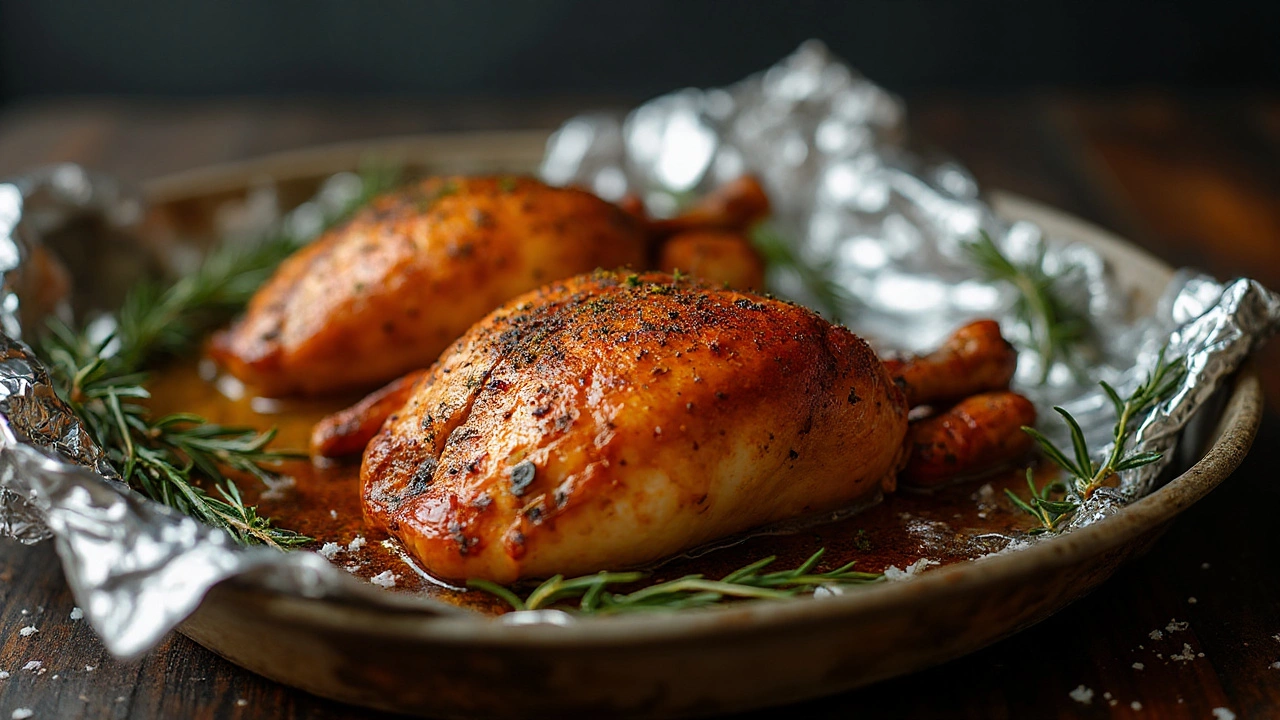
Let’s check out how chicken types and cuts react to being covered. A bone-in, skin-on chicken leg survives and even flourishes when covered, finishing with juicy meat, although the skin won’t brown until the last ten minutes if you take off the foil. Skinless breasts, though, almost demand some protection—especially if you want leftovers that don’t double as shoe leather.
If you’re roasting a whole chicken, things get more interesting. People often start off covered to protect the tender breast meat, then whip off the foil to finish, letting the skin get golden. This method takes its cues straight from seasoned cooks who’ve ruined their share of birds. In a survey by BBC Good Food, 52% of home cooks say they finish whole chickens uncovered, even if they covered at the start. This tweak is a real crowd-pleaser: neither dry meet nor soggy skin.
Also: not all “covers” are equal. A tight-fitting lid locks in far more steam than loosely crimped foil. If you want a little browning but still favor juiciness, just tent the foil—leave some gaps at the corners. The result is less trapped steam, so some moisture escapes, but enough hangs around to cushion the chicken from turning into cardboard. Foil conducts heat directly as well, so if it’s tightly crimped and actually touching the chicken, that bit can cook slightly faster (but risks steaming instead of roasting).
If you want specifics, here’s a little comparison to remember:
| Method | Juiciness | Browning | Baking Time |
|---|---|---|---|
| Fully Covered (Foil/Lid) | Very Juicy | Little/None | Fastest |
| Uncovered | Less Juicy | Best Browning | Slowest |
| Partly Covered (Tent Foil, Last-Minute Remove) | Balanced | Some Browning | In Between |
So, what’s the final takeaway? If you want juicy baked chicken with crisp skin, the answer isn't simply yes or no to covering—you’ll want to mix it up a bit. Time to get practical with some real-world moves.
Tips from Real Kitchens: Getting It Right for Every Cut
Let’s be straight—there’s no one “right” way to bake chicken. The trick is matching your approach to what you’ve actually got in the fridge and what sort of dinner you’re dreaming up. If you’re starting with boneless, skinless breasts, you might as well bookmark this: treat them gently. The lean, low-fat content means they dry out just looking at a warm oven. Covering them for at least two-thirds of the cook means you’re locking in all the moisture you can. The last 10 minutes uncovered helps the seasoning bond to the surface, giving a bit of texture but not blasting all the juices away.
Now, bone-in pieces—think thighs or drumsticks—are a different business. They can handle heat for longer stretches. The bone actually slows down how quickly the meat cooks, so you’re less likely to end up with a desert on your plate. These pieces do fine uncovered the whole time if you’re after the kind of crispy skin that lets out a crack as you bite. But if you’re baking them with sauces or alongside veg in a one-pan dish, covering loosely for the start means you avoid burnt edges while the rest of dinner gets a chance to catch up. Reveal the legs in the last quarter of cooking to finish off with that savoury brown crunch.
If you want to know how professional kitchens pull this off on a larger scale, watch how many switch between covering and uncovering. It’s wildly common to cover early, then whip off the lid or foil around two-thirds of the way through. This keeps the juices in until the meat is mostly cooked, then gives skins and sauces their time in the sun. For example, roast chicken in restaurants often goes in a hot oven covered; after about 30 minutes, the cover comes off for the final blast. Works like a charm and saves the chef from dry complaints when Saturday dinner rush hits.
Marinades and sauces matter too. Chicken baked in a tomato, mustard, or yogurt-based sauce stays happier when covered for the majority of the time. Uncover only at the end to reduce the sauce and snag a bit of caramelisation on top. Another pro move: if you love sticky glazes but always seem to burn them, keep the chicken covered until the last 5 minutes, glaze, then pop under the grill or back in a hot oven. No more acrid, bitter sugar—just glossy, sticky-goodness.
Don’t be shy about basting, either. If you do decide to go uncovered for colour, a regular spoonful of pan juices over the chicken keeps things from getting parched. Most home ovens dry the air as they run, so any trick you can pull to get moisture back helps. Just be quick when you open the door—every minute spent poking inside is another minute of heat lost and, ironically, of meat drying as the temp struggles back up. Quick in, quick out, no faffing about.
Let’s talk about layering trays in the oven. If you’re making a one-pan chicken and veg meal, think about the steam your veg will create. Foil tightly sealed to the tray will trap their steam and result in a softer, more stew-like meal rather than roasted food. If you want everything crispy, either place the veg on a separate tray, or leave the cover off for at least half the time, especially for watery vegetables like courgette or mushrooms.
One of the best kitchen hacks? Start with a high oven—say 220°C (425°F)—for the first 10-15 minutes, uncovered, then drop the temperature and cover to finish cooking. This gives you a running start on crispy exterior, then locks in the steam while the chicken gently finishes. Works especially well for spatchcocked or butterflied birds when you want evenly cooked meat and browned skin but zero stress about dryness.
When baking a whole chicken, here’s a step-by-step that never lets me down:
- Pat the chicken dry and season generously—don’t forget inside the cavity.
- Start in a preheated oven at 220°C (425°F) with the chicken uncovered for 15 minutes to brown the skin.
- Once golden, tent loosely with foil (just enough to cover the top), then lower to 180°C (350°F).
- Bake until internal temperature hits 74°C (165°F) at the thickest part—usually an hour for a 1.5kg bird.
- Uncover for last 10 minutes if you want more browning, then let it rest at least 10 minutes before carving to keep juices inside.
This high-low, cover-uncover routine is simple, repeatable, and turns out juicy, flavour-packed chicken almost every time. It’s also how you avoid that nightmare where white meat tastes like, well, nothing.
Covering Techniques: Foil, Parchment, or Lid?
It’s not just about “cover or not?” You’ve also got to think about what you’re covering with. Foil is the classic—cheap, flexible, and it can be shaped to dome or press right down on the chicken, depending on how much steam you want to trap. If you’re after that balanced scenario where you lock in some steam but still let things dry out just enough for flavour, tilt the foil upwards and leave the corners cracked open. Want extra moisture? Crimp it tight to the rim for a full seal.
Glass and ceramic baking dishes often come with tight-fitting lids. These are perfect if you want a moist, braised style chicken—think coq au vin or any stew where both veg and meat soak up every drop of liquid. The lid holds back nearly all the steam, so you get a very tender finish, but as with foil, watch for lack of browning. You may need to finish lid-off just to get that last burst of colour.
Parchment paper might sound daft at first, but it’s a real trick in kitchens all over Europe. “En papillote” sounds fancy, but it’s really just wrapping up food—chicken included—in parchment and then baking. The wrapped food steams in its own juices, handling delicate cuts like chicken breast beautifully. No sauce, barely any fat required, so if you’re counting calories but not willing to give up moist meat, this is the move. People love this for Mediterranean-style chicken with citrus slices, fresh herbs, and maybe a splash of white wine. The result is juicy, fragrant, and dead simple to clean up.
Now, if you’re a kitchen gadget fan, you might even have silicone lids or covers lying around. These work a lot like foil—trapping steam, easy to wash, and reusable. If environmental footprint matters to you, this is a bonus. Unlike foil, though, they don’t brown, so always finish with the lid off if you want crispy edges.
Here's a case that surprises a lot of people. If you use a convection oven (fan oven), covering the chicken almost cancels out the main benefit of the fan—namely, faster and more even browning. You’re better off using a standard oven setting when cooking covered chicken. Convection is a dream for crispy, uncovered chicken but overkill for a covered bake.
Curious which tool is best? Here’s a quick reference:
| Covering Tool | Best For | Main Drawback |
|---|---|---|
| Foil (Tight) | Maximum Juiciness | Soggy Skin, Less Colour |
| Foil (Loosely Tented) | Balanced Texture | Less Total Moisture Locked |
| Lid (Glass/Ceramic) | Braised Dishes, Stews | No Browning |
| Parchment | Moist, Delicate Dishes | No Crunchy Texture |
| No Cover | Crispy, Browned Skin | Risks Dry Meat |
Pay attention to the size and depth of your cooking dish, too. A deep pan will collect more juices and let the chicken stew, which naturally mimics a covered bake, even if you don’t use a foil or lid. A shallow tray exposed directly to the oven’s dry air is where you see the crisping magic, so only use this if you’re willing to trade some moisture for crunch.
If you’re roasting for a crowd and need to keep baked chicken warm, cover it tightly with foil once it leaves the oven. This traps steam and keeps the meat moist for serving. Restaurants use this trick for banquets: the hit of extra moisture during rest keeps breasts tender and ready to serve, even if they sit for an extra twenty minutes.
Last quick tip: when using foil, shiny side down helps reflect some heat back towards the chicken, but truth is, unless you’re cooking at super-high temperatures, the difference is tiny. So don’t stress if you can’t remember which side faces out. What matters most is the steam you trap and when you decide to pull it away.
Baking Times, Temperatures, and Tricks for Different Results
So how does all this come together when it’s actually time to cook? First, the right temperature makes or breaks your meal. For juicy meat with a tender finish, bake at 180°C (350°F) to 200°C (400°F). If covered, the chicken often cooks a bit faster thanks to that coddling steam. If you go uncovered for maximum browning, aim closer to 200°C and keep an eye on the outside—especially with skinless cuts, which brown faster but dry out quicker.
When using foil or a lid for at least part of the bake, here’s a handy cheat sheet:
- Bone-in, skin-on breasts: 30–35 mins at 180°C (covered), then 10-15 mins uncovered at 200°C to brown
- Boneless breasts: 20–25 mins entirely covered at 180°C, or 15 mins at 200°C covered, then a quick finish uncovered
- Thighs or drumsticks (bone-in): 35–40 mins at 180°C, first 25 mins covered, rest uncovered
- Whole chicken (about 1.5kg): 1hr 15 mins at 180°C—start uncovered, rest covered, then uncover for last 15 mins if you want extra crunch
Always check for an internal temperature of 74°C (165°F) at the thickest part using an instant-read thermometer. Touch and colour aren’t foolproof: even browned chicken can be underdone in the middle, and nothing’s worse than slicing in to see pink when everyone’s hungry.
If you have time, brining chicken before baking—especially if you’ll mostly bake it uncovered—turns out juicier results. Salt draws in moisture, meaning your chicken has a reserve in the oven (which, by the way, can lose around 8-12% of its moisture in half an hour at 200°C uncovered). If you don’t want to bother with a traditional wet brine, a heavy sprinkle of salt at least an hour before baking makes a noticeable difference. The salt has time to work its way through the meat, seasoning all the way to the core and helping it hold onto precious water as it cooks.
For those craving even more flavour, try stuffing the chicken with aromatics—think garlic, lemon, herbs, or even sliced onions. Cover at first to let the steam grab all those flavours and push them through the meat; finish uncovered for a blast of texture.
Ever wonder why chicken cooked with root veg underneath stays juicier? Those chunky veggies release steady steam as they bake, almost acting like an extra layer of protection. If you’re worried about dry meat, nestle chicken on a bed of potatoes and carrots. The veg get richer from the drippings, and your chicken gets a subtle steam bath as it cooks. Just remember—veg makes the base wetter, so if you go this route, use the last part of the bake uncovered to bring everything into balance.
Don’t ignore resting time, either. Every pro chef lets baked chicken sit 5-15 minutes after leaving the oven (even longer for whole birds). This pause lets the juices settle back into the fibers, so you’re not left with a pan full of flavour and meat that’s bland inside. For super-mois results, loosely cover baked chicken to trap a little steam as it rests, but don’t seal it up tight, or you’ll lose your crispy skin fast.
For one last data point: the US Department of Agriculture suggests that covering chicken when baking can reduce moisture loss by between 10-20%, depending on the size of the pieces and the tightness of the cover. That number alone is enough to make a difference when your plate hits the table.
Backing this all up, if you love stats, check out this breakdown for standard boneless chicken breasts baked at 180°C for 30 minutes:
| Method | Average Moisture Loss (%) |
|---|---|
| Covered Tightly | 18% |
| Uncovered | 28% |
| Covered First, Then Uncovered Last 5 Mins | 20% |
So yeah, a few minutes uncovered at the end is all you need to lock in flavour and still get that bit of colour everyone loves.
Ultimately, nailing the best-baked chicken isn’t about picking one ‘right’ way; it’s about how you balance steam and dry heat. Whether you’re fighting for moist meat or racing for crispy skin, just remember the blend: start covered or with added moisture, uncover and hit with high heat to finish. Use your senses, experiment, and never feel stuck to a single “correct” routine. The best chicken comes from knowing your own oven, your own taste buds, and—honestly—a willingness to pull off the foil and peek when it finally smells just right.


Write a comment