Moist Chicken Temperature Calculator
Enter Cooking Details
Results & Strategy
Enter details to see your perfect pull temperature.
There is nothing quite as disappointing as pulling a perfectly seasoned piece of chicken is a versatile poultry meat that serves as a staple protein in diets worldwide out of the oven or pan only to find it has turned into sawdust. You followed the recipe. You checked the temperature. Yet, the texture is dry, stringy, and sad. If you have ever experienced this kitchen heartbreak, you are not alone. Dry chicken is the most common complaint among home cooks, but it is also the easiest one to fix once you understand the mechanics behind it.
The truth is, there isn't just one "secret" ingredient. Instead, achieving consistently moist chicken requires a combination of three specific techniques: understanding muscle structure, managing heat accurately, and retaining moisture through preparation. When you master these elements, you stop guessing and start producing restaurant-quality results every single time.
The Science of Why Chicken Dries Out
To keep chicken juicy, you first need to know why it dries out in the first place. It comes down to proteins and water. Chicken meat is made up of long chains of proteins called myosin and actin. These proteins hold onto water molecules like a sponge. When you apply heat, these proteins begin to tighten and squeeze out the water they are holding. This process is known as denaturation.
If you cook chicken slowly at a low temperature, the proteins tighten gently, keeping some water inside. But if you blast it with high heat or cook it past its safe internal temperature, the proteins contract violently, squeezing out almost all the moisture. That’s why overcooked chicken tastes dry-it literally has no water left in it. The goal isn't to stop the proteins from tightening; it's to control how much they tighten so they retain enough juice to stay tender.
Method 1: Brining - The Moisture Booster
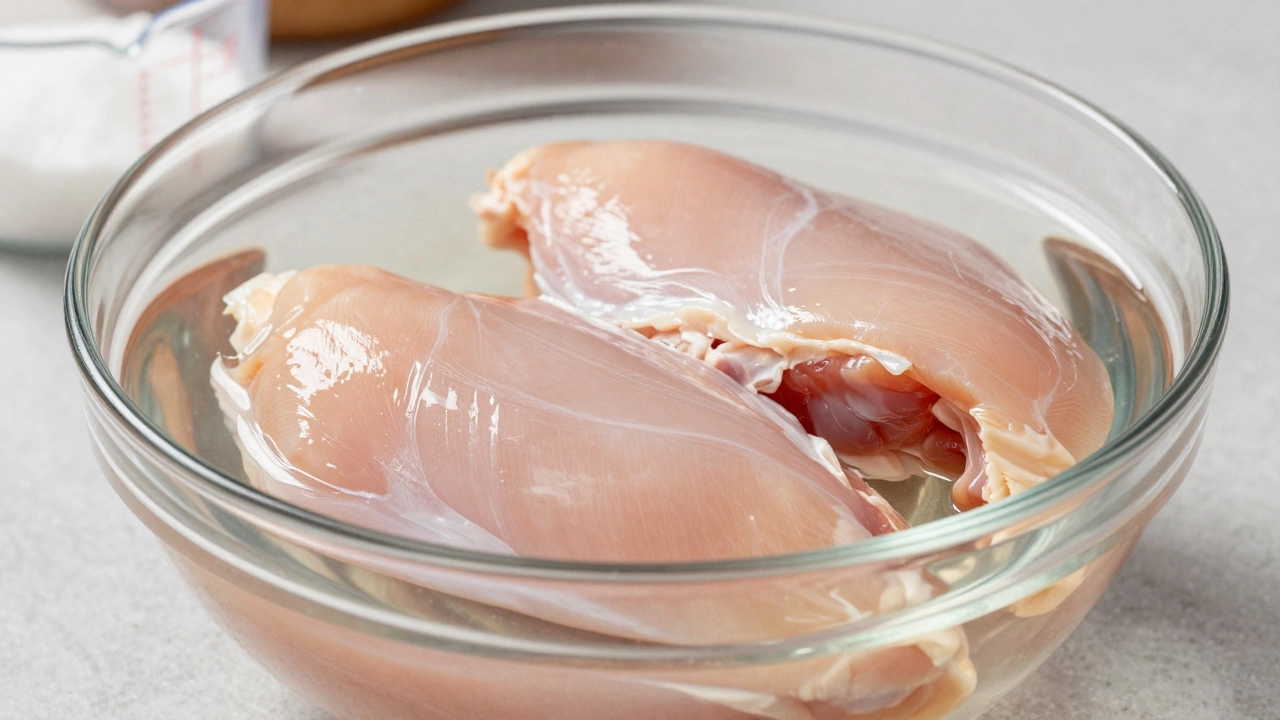
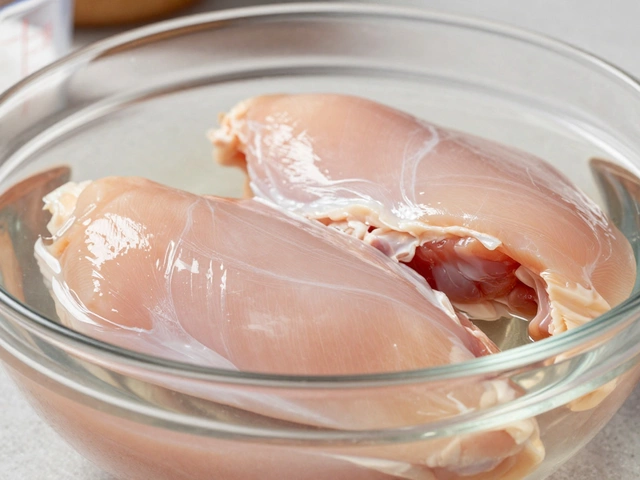
One of the most effective ways to combat dryness before you even turn on the stove is brining. A brine is a solution of salt and water used to marinate meat to improve flavor and texture. There are two types: wet brining and dry brining. Both work by using salt to break down some of the muscle proteins, allowing them to absorb and hold more water during cooking.
For wet brining, submerge your chicken pieces in a mixture of water and salt (about 1 tablespoon of kosher salt per cup of water) for 30 minutes to an hour. For smaller breasts, 30 minutes is plenty. For larger whole chickens or thighs, you can go up to 4 hours. Afterward, rinse the chicken thoroughly and pat it dry. This step might seem counterintuitive-adding water to something you want to keep moist-but the salt changes the protein structure so it locks that water in when heated.
Dry brining is simpler and often preferred for its ease. Just rub kosher salt directly onto the chicken and let it sit in the refrigerator uncovered for several hours or overnight. The salt draws out surface moisture, which then dissolves the salt and gets reabsorbed into the meat. This seasons the chicken deeply while improving its water-holding capacity. Plus, leaving it uncovered helps dry out the skin, leading to crispier results if you’re roasting.
Method 2: Temperature Control - The Game Changer
Even the best-brined chicken will turn dry if you overcook it. For decades, food safety guidelines recommended cooking chicken to 165°F (74°C). While this is still the safe minimum, many chefs argue that pulling chicken off the heat slightly earlier yields better results. This is because of carryover cooking-the internal temperature continues to rise for a few minutes after you remove the meat from the heat source.
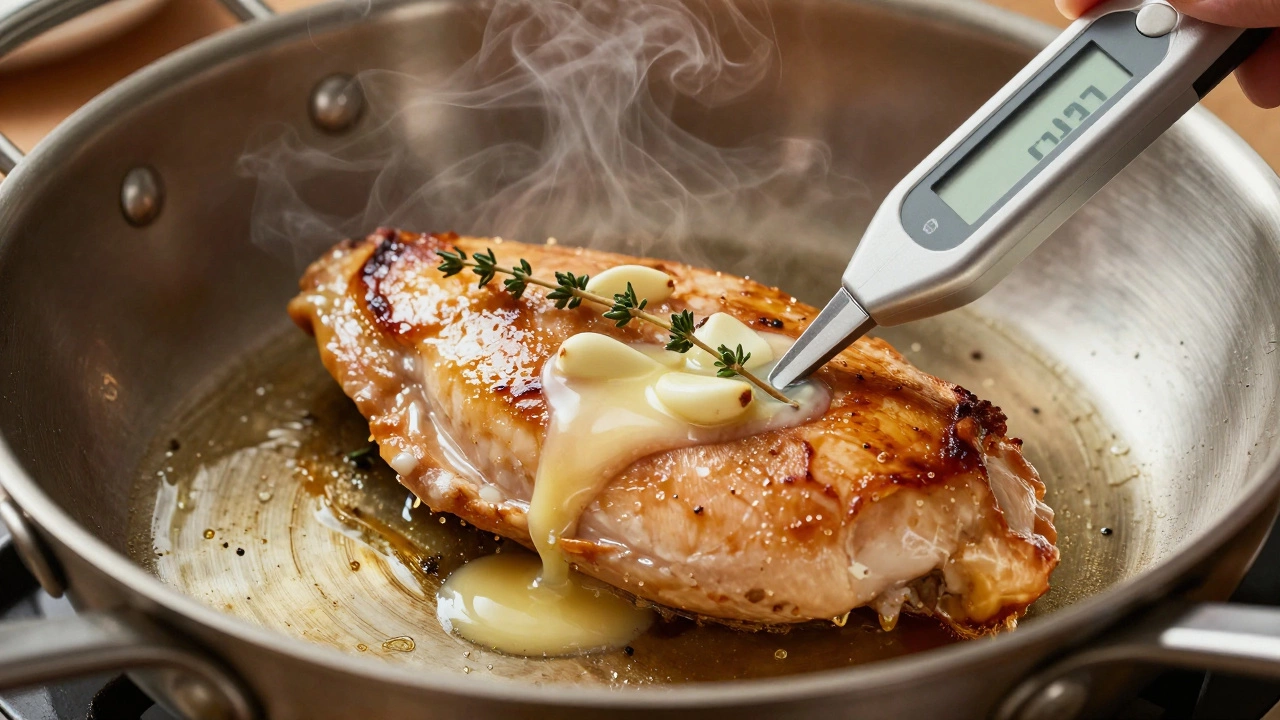
Aim to pull your chicken breasts or thighs off the heat at around 155°F to 160°F (68°C to 71°C). As it rests, the temperature will climb to the safe 165°F range without pushing the proteins into that tight, dry state. To do this accurately, you need a reliable instant-read thermometer. Guessing based on color or cooking time is unreliable because chicken pieces vary wildly in thickness and density.
Insert the thermometer into the thickest part of the meat, avoiding bone. Bone conducts heat differently than meat, so reading near a bone can give you a false high temperature. Once you hit your target temp, remove the chicken immediately. Patience here pays off in texture.
Method 3: Cooking Techniques That Preserve Juiciness
How you cook the chicken matters just as much as how you prepare it. Some methods are inherently better at preserving moisture than others. Here are three techniques that consistently deliver juicy results:
- Pan-Searing with Basting: Sear chicken breasts in a hot skillet with oil or butter. Once browned on both sides, reduce the heat to medium-low and add a knob of butter, garlic, and herbs. Tilt the pan and spoon the melted butter continuously over the chicken. This basting keeps the surface moist and adds flavor while the interior finishes cooking gently.
- Poaching: Gently simmer chicken in broth or water at a bare simmer (around 170°F to 180°F / 77°C to 82°C), not a rolling boil. Poaching prevents the exterior from toughening while the interior cooks evenly. It’s ideal for shredded chicken salads or soups where you don’t need crispy skin.
- Roasting at High Heat with Resting: Roast chicken thighs or drumsticks at 400°F (200°C) or higher. Dark meat has more connective tissue and fat, making it more forgiving than breast meat. High heat renders the fat quickly, keeping the meat succulent. Always let roasted chicken rest for at least 5 to 10 minutes before cutting. This allows the juices to redistribute throughout the meat rather than spilling out onto the cutting board.
The Importance of Resting
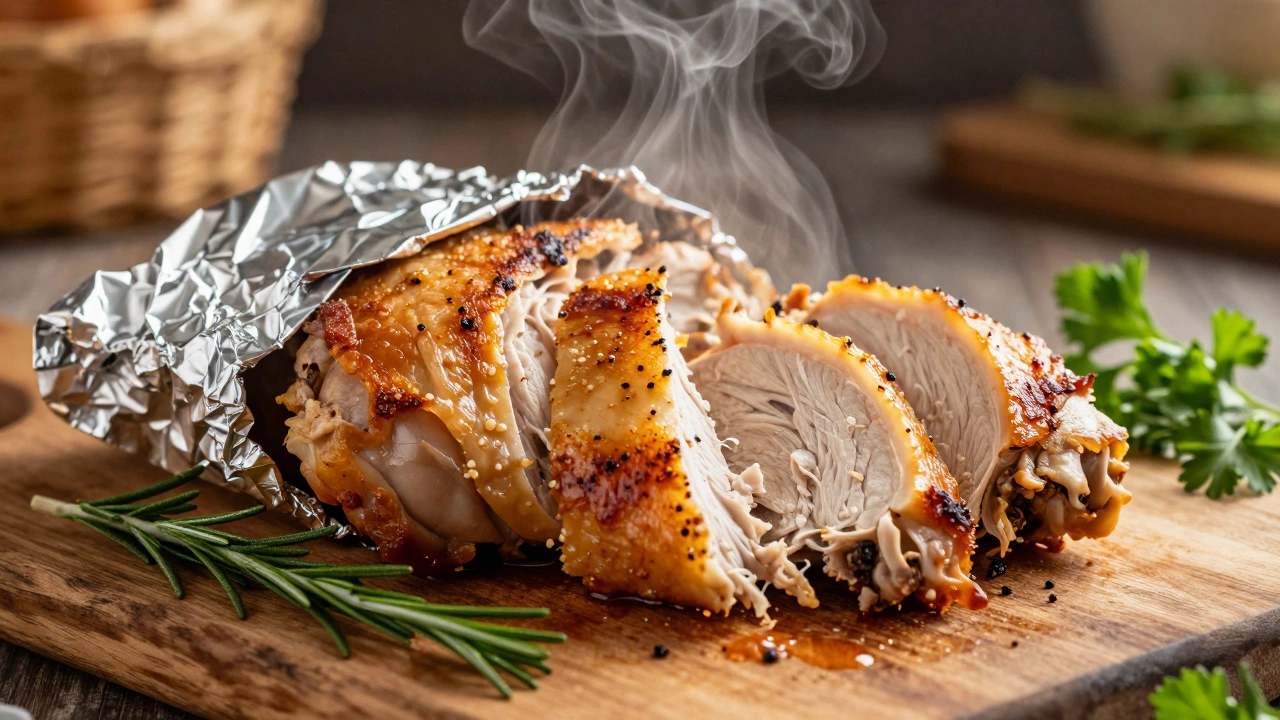
You might think resting is optional, but it’s crucial for moist chicken. When meat cooks, the juices move toward the center due to heat pressure. If you cut into it immediately, those concentrated juices escape, leaving the outer layers dry. Letting the chicken rest for 5 to 10 minutes allows the muscles to relax and the juices to spread back out evenly. Think of it like letting a compressed spring expand-it takes a moment for everything to settle.
During this time, cover the chicken loosely with foil to keep it warm. Don’t wrap it tightly, or the steam will soften any crispy skin you’ve worked hard to achieve. Resting doesn’t just improve juiciness; it also makes slicing easier and cleaner, resulting in a more appealing presentation.
Choosing the Right Cut
Not all chicken parts are created equal when it comes to moisture retention. Chicken breast is the leanest cut of chicken, containing very little fat and connective tissue. Because it lacks fat, it dries out quickly if overcooked. It requires precise temperature control and benefits greatly from brining or pounding to an even thickness.
In contrast, Chicken thighs are dark meat cuts with higher fat content and more connective tissue, making them naturally juicier and more forgiving. Thighs can handle higher heat and longer cooking times without becoming dry. They’re perfect for stews, braises, and high-heat roasting. If you struggle with dry chicken, switching to thighs occasionally can be a game-changer.
| Cut | Fat Content | Moisture Risk | Best Cooking Method |
|---|---|---|---|
| Breast | Low | High | Pan-searing, poaching, quick roasting |
| Thighs | Medium-High | Low | Roasting, grilling, braising |
| Wings | Medium | Low-Medium | Frying, baking, smoking |
| Drumsticks | Medium | Low | Roasting, boiling, grilling |
Pounding for Even Cooking
Another simple trick for moist chicken breasts is pounding them to an even thickness. Chicken breasts are naturally uneven-thicker at one end and thinner at the other. When you cook them as-is, the thin part dries out before the thick part is done. By placing the breast between plastic wrap and gently pounding it with a mallet or rolling pin to about ½-inch thickness, you ensure uniform cooking. This reduces the overall cooking time and minimizes the risk of overcooking any section.
Common Mistakes to Avoid
Even with the right techniques, small errors can lead to dry chicken. One major mistake is starting with cold chicken straight from the fridge. Cold meat hits a hot pan or oven and creates a shock that can cause uneven cooking. Let chicken sit at room temperature for 15 to 20 minutes before cooking. This doesn’t compromise safety as long as you cook it promptly afterward, and it leads to more even heat distribution.
Another error is overcrowding the pan. When you crowd chicken pieces in a skillet, they steam instead of sear. Steaming raises the ambient temperature around the meat, causing it to cook too quickly and lose moisture. Give each piece enough space to breathe, or cook in batches if necessary.
Finally, avoid piercing the chicken with forks or knives while cooking. Every puncture creates a channel for juices to escape. Use tongs to flip and move the chicken, preserving the integrity of the muscle fibers.
Quick Checklist for Moist Chicken
- Brine the chicken (wet or dry) for at least 30 minutes.
- Pound breasts to an even ½-inch thickness.
- Let chicken come to room temperature before cooking.
- Use an instant-read thermometer to pull at 155°F-160°F.
- Rest the chicken for 5-10 minutes before slicing.
- Avoid overcrowding the pan to prevent steaming.
- Consider using thighs for more forgiving, naturally juicy results.
Can I use lemon juice instead of salt for brining?
Lemon juice alone won’t provide the same moisture-retaining benefits as salt. Acid from lemon juice can actually break down proteins too aggressively, leading to a mushy texture if left too long. For best results, stick with salt-based brines. You can add lemon juice later for flavor, but don’t rely on it for moisture control.
Is it safe to eat chicken cooked to 155°F?
Yes, according to USDA guidelines, chicken is safe to eat when held at 155°F for at least 15 seconds. However, since carryover cooking will raise the temperature further during resting, pulling it at 155°F-160°F ensures it reaches a safe final temperature without overcooking. Always use a calibrated thermometer for accuracy.
Why does my chicken breast look pink but is cooked through?
Pinkness in cooked chicken can occur due to factors like young age of the bird, diet, or certain cooking methods (like smoking). Color is not a reliable indicator of doneness. Always rely on internal temperature rather than visual cues. If the chicken has reached 165°F internally, it is safe to eat regardless of slight pink hues.
Does marinating make chicken moister?
Marinades primarily add flavor, not moisture. Most marinades don’t penetrate deep into the meat unless they contain enzymes (like pineapple or papaya) or acids, which can sometimes tenderize but also risk breaking down texture if used excessively. For true moisture retention, focus on brining and proper cooking techniques rather than relying on marinades alone.
Should I cover chicken while roasting to keep it moist?
Covering chicken traps steam, which can help keep it moist but may prevent browning and crisping. For juicy yet flavorful results, roast uncovered at high heat for better Maillard reaction (browning). If you’re worried about drying out, tent loosely with foil halfway through cooking, then remove for the last 10-15 minutes to crisp the skin.


Write a comment